Ever found yourself in a situation where you wish you could capture that epic gaming moment or share a hilarious video call with friends? Well, the iPhone’s screen recording feature is here to save the day! It’s like having a magic wand that lets you freeze time, all while keeping your phone in your pocket.
Understanding Screen Recording on iPhone
Screen recording on the iPhone serves as a powerful feature that captures activities on the device for various purposes. Users benefit from this tool by having the ability to recreate or share experiences instantly.
Benefits of Screen Recording
Capturing on-screen activities provides numerous advantages. Convenience ranks among the top benefits, as users can easily record tutorials, gameplay, or important video calls. Quality remains consistent, with iPhones delivering high-resolution recordings. Users can edit videos directly after capturing them, enhancing the final product. Accessibility plays a significant role too; sharing recordings through messaging or social media platforms takes just a few taps. Overall, screen recording transforms the way users communicate and share their experiences.
Use Cases for Screen Recording
Numerous scenarios demonstrate the practical applications of screen recording. Gamers frequently record sessions to highlight achievements or strategies during gameplay. Educators often create tutorial videos, demonstrating how to navigate apps or complete tasks. Professionals use recordings for presentations, offering visual aids to illustrate points effectively. Additionally, users capture memorable moments from video calls to keep cherished interactions. Personal users document app functionalities to share discoveries with friends. These diverse use cases illustrate how versatile and beneficial screen recording can be on the iPhone.
Steps to Enable Screen Recording
Enabling screen recording on an iPhone requires a few simple steps to access the feature directly. Follow these instructions to get started.
Accessing Settings
Begin by opening the Settings app. This can usually be found on the home screen. Next, scroll down until you see the option labeled Control Center. Tapping on this will lead to further customization options. Look for the section titled More Controls, which displays additional features available for your Control Center. From this list, identifying Screen Recording is essential. Once located, tap the green plus icon next to it to add the feature.
Adding Screen Record to Control Center
After accessing the Control Center, swipe down from the top-right corner of the screen for iPhone models with Face ID or swipe up from the bottom edge for older models. In the Control Center, you’ll now find the Screen Recording button displayed. Tapping this button initiates the recording process, indicated by a countdown. To stop recording, tap the red status bar at the top of the screen and select Stop. Recorded videos save automatically to the Photos app, making them easily accessible for review and sharing.
How to Record Your Screen
Recording your screen on an iPhone is simple and efficient. This process supports various activities like gameplay, tutorials, and video calls.
Starting the Recording
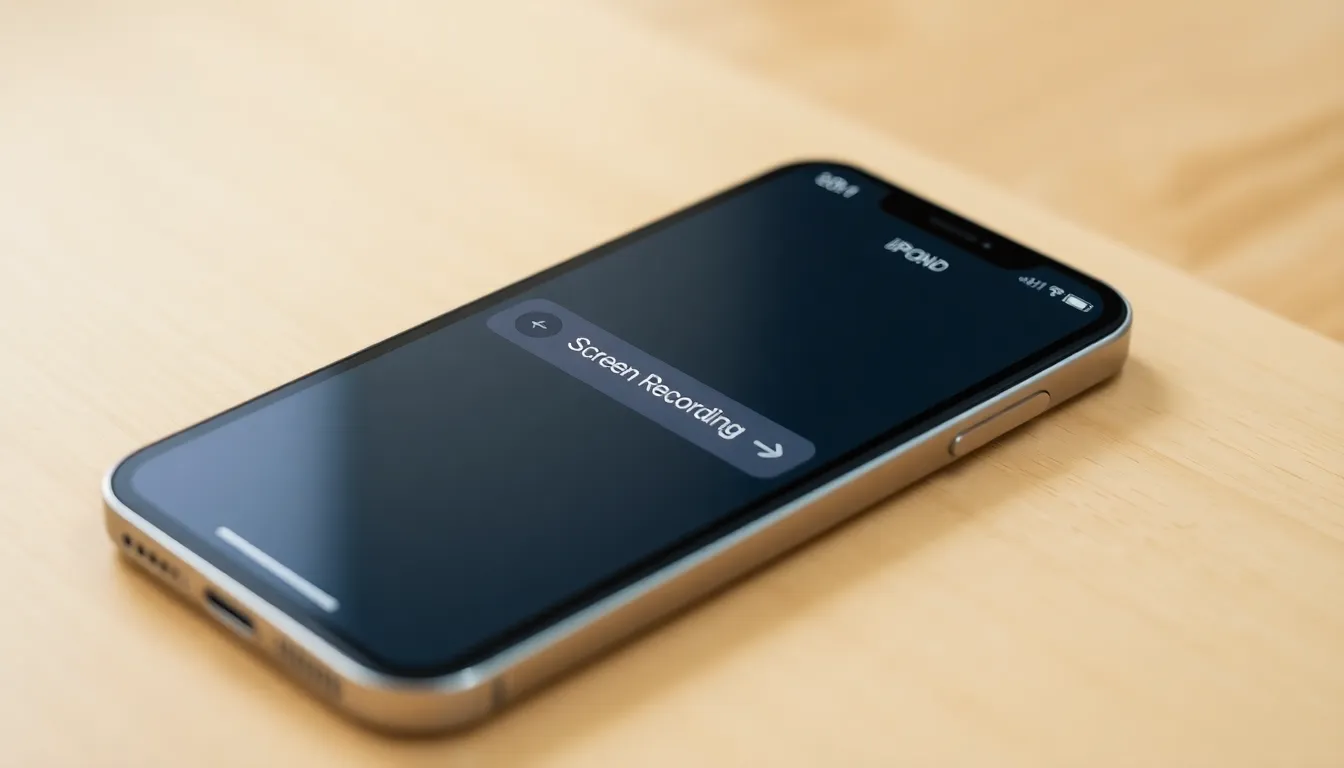
To start the screen recording, access the Control Center by swiping down from the top right corner for newer models or up from the bottom for older ones. Locate the Screen Recording button, typically depicted as a circle within a circle. Tapping this button initiates a short countdown, providing time to navigate to the desired content. Users can opt to enable the microphone for audio by long-pressing the Screen Recording icon and selecting the microphone option. The recording captures everything displayed on the screen, making it versatile for different use cases.
Stopping the Recording
Stopping the recording is equally straightforward. Users only need to tap the red status bar at the top of the screen and confirm the action to end the process. Alternatively, accessing the Control Center again and tapping the Screen Recording button stops the recording immediately. After concluding, the iPhone saves the video automatically to the Photos app for later review. This ensures that users can edit or share their recordings with ease.
Editing and Sharing Your Screen Recordings
After capturing a screen recording on an iPhone, users can make edits and share their videos seamlessly.
Basic Editing Functions
Users can access basic editing features directly in the Photos app. Trimming the recording helps remove unnecessary parts from the beginning or end. Adjusting the video’s frame can enhance focus on the relevant content. Adding text or drawings can emphasize important points. Effects and filters can offer a creative touch to make the video more engaging. Previewing the edits before saving ensures satisfaction with the final product.
Sharing Options
Sharing options for screen recordings are straightforward. Recorded videos can be sent via messaging apps or shared through email. Social media platforms like Instagram and Facebook offer quick sharing methods. AirDrop allows for instant transfers to other Apple devices nearby. Uploading to cloud services provides additional backup and easy access across devices. The sharing process prioritizes user convenience and accessibility, ensuring that everyone can showcase their captured moments effortlessly.
The screen recording feature on the iPhone offers a remarkable way to capture and share experiences effortlessly. With its user-friendly setup and intuitive controls it’s become an essential tool for many. Whether it’s for gaming highlights educational tutorials or personal moments this feature enhances communication and creativity.
Users can easily edit their recordings and share them across various platforms ensuring that memorable moments are just a tap away. Embracing this functionality allows iPhone users to document their digital lives in a dynamic and engaging manner.